Reaction Zones: Complete Setup Guide
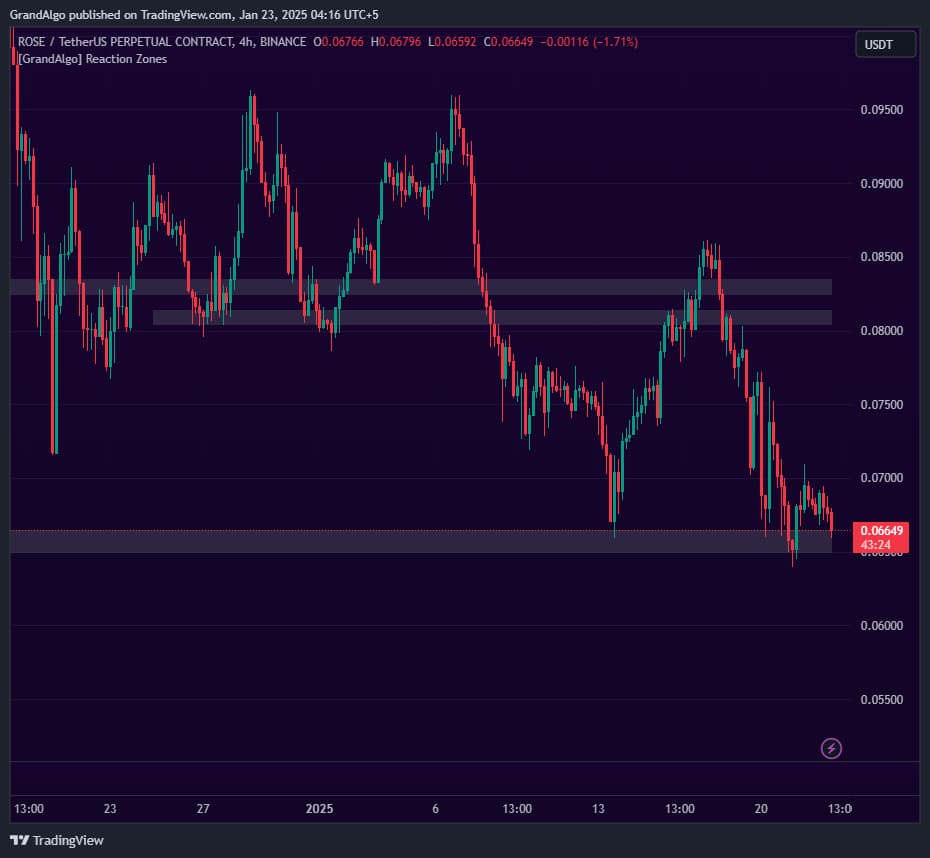
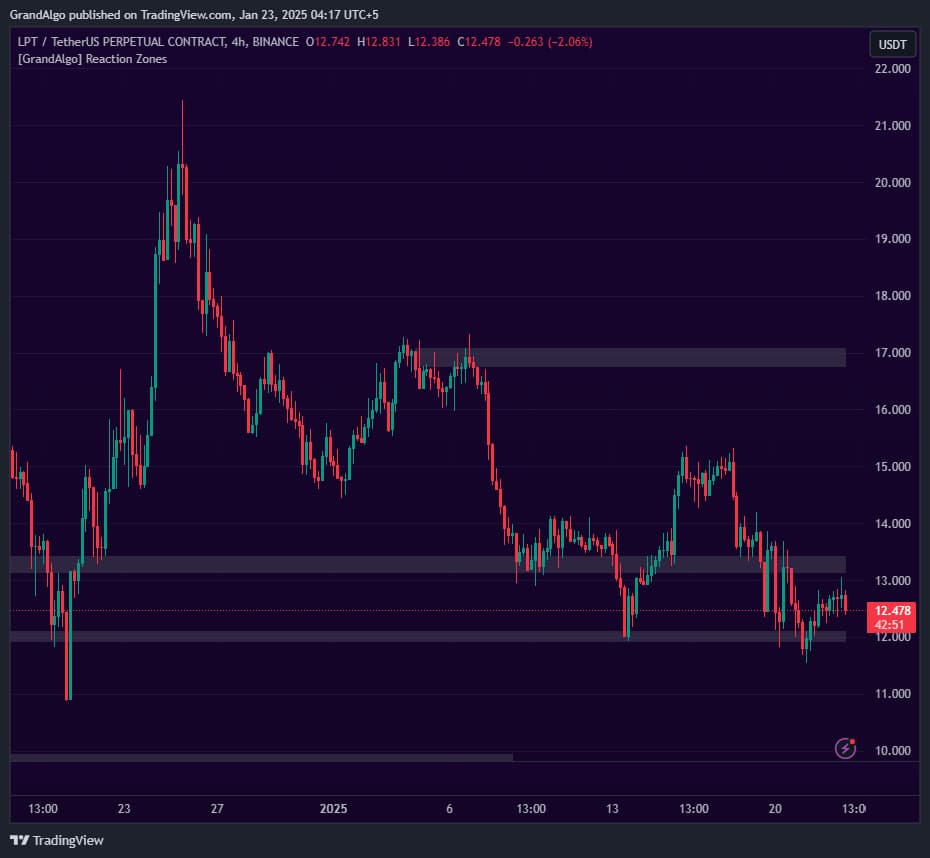
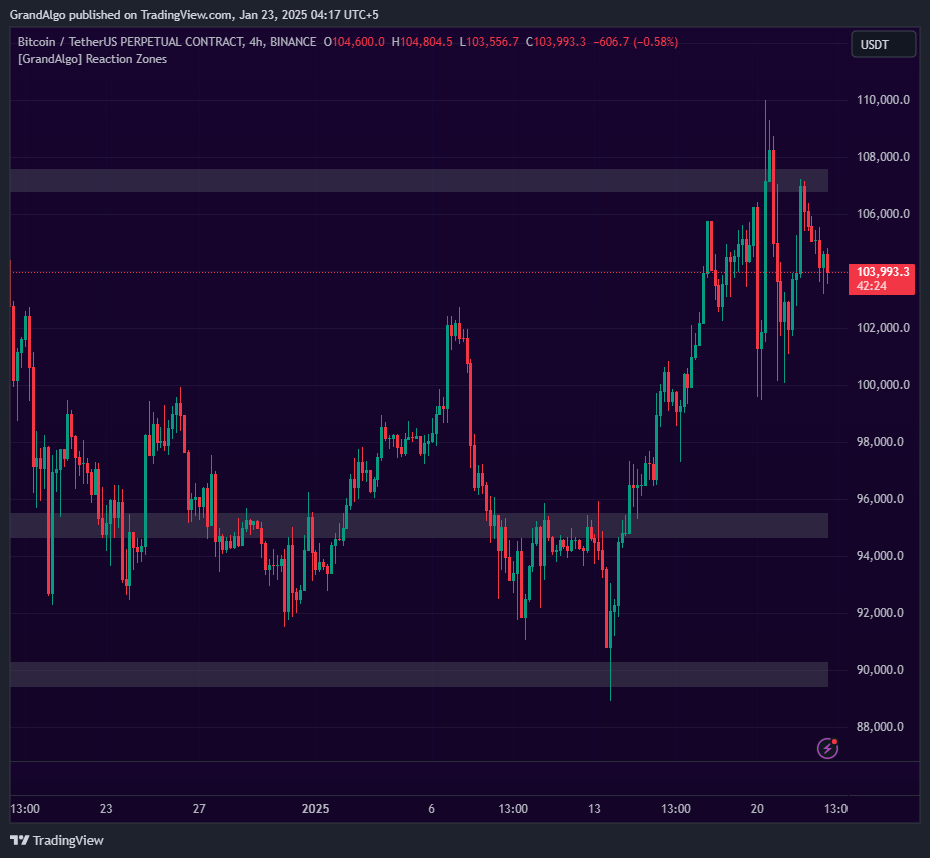
Reaction Zones finds levels where price has repeatedly interacted with a pivot point. When a swing high or low is detected, the indicator analyzes how many candles interacted with that level within the surrounding window. If the touch count exceeds your configurable strength threshold, a shaded zone is drawn.

What It Does
These zones represent areas where the market has shown its hand through repeated reactions, making them statistically significant levels for future trades. Smart duplicate prevention ensures zones don't stack on top of each other, and optional mitigation tracking removes zones when price slices completely through them.
Key Features
Touch Count Analysis
Analyzes how many candles interacted with each pivot level -zones are only drawn when the touch count exceeds your strength threshold.
Configurable Sensitivity
Adjust the Length and Strength inputs to control pivot detection sensitivity and how many touches are required before a zone qualifies.
Zone Mitigation Tracking
Optionally removes zones when price completely slices through them, keeping only active zones visible on the chart.
Smart Duplicate Prevention
Checks new zones against existing ones to prevent overlapping zones from cluttering the chart.
In Action
Reaction Zones applied across different markets.


Settings & Parameters
Key settings you can configure in TradingView.
| Parameter | Type | Default | Description |
|---|---|---|---|
| Length | int | 14 | Controls pivot detection sensitivity. Higher values detect fewer, more significant swing points; lower values catch more swings. |
| Strength | int | 3 | Minimum number of touches required for a zone to qualify. Higher values produce fewer but more proven zones. |
| Keep Last X Zones | int | 4 | Maximum number of zones displayed at once. Older zones are removed as new ones form. |
| Keep After Mitigation | bool | true | When enabled, zones remain visible even after price slices through them. Disable to only show active, unbroken zones. |
How to Use It
Adjust Length for Your Timeframe
On lower timeframes (1m-15m), a shorter Length of 7-10 catches more swing points. On higher timeframes (4H-Daily), the default 14 or higher focuses on major pivots.
Read Zone Significance
Zones with more touches are more significant. While the minimum is set by Strength, zones that far exceed the threshold represent the strongest reaction areas.
Trade Zone Retests
When price returns to a reaction zone, the historical touch pattern suggests price is likely to react again. Look for candlestick confirmation at the zone boundary for entry signals.
Track Mitigation Status
If you disable Keep After Mitigation, only active zones remain visible. A zone that has been decisively broken is less likely to provide future reactions.
Best Practices
Fewer Zones is Better
Keeping the Last X Zones at 3-5 ensures you focus on the most relevant areas. Too many zones create analysis paralysis.
Combine with Trend Direction
Reaction zones in the direction of the prevailing trend (demand zones in uptrends, supply zones in downtrends) offer higher-probability setups.
First Retest is Strongest
The first time price returns to a reaction zone after forming it tends to produce the cleanest reaction. Subsequent retests may see diminishing strength.
Related Indicators
Ready to Start Trading?
Get access to Reaction Zones alongside all 18 premium indicators.